Why Nordic Walking Blisters Form Between Thumb and Index Finger - and the Strap Fix That Stops Them
Quick Answer: A blister in the thumb web means the strap is carrying load at the wrong angle - usually because it is too loose, twisted, or because you are gripping the pole instead of pushing through the strap. In correct Nordic walking technique, the strap transmits the push and the hand opens behind you; the web takes a broad, even pressure rather than a concentrated shear. Tighten the strap so it is snug against the back of the hand, check it is not twisted, and practice releasing the grip at the end of each push.
If you are gripping hard enough to blister, you are also getting far less of the upper-body benefit that made you buy the poles.
So the blister is useful information rather than just an annoyance.
What is the strap actually supposed to do?
This is the piece most people are never taught, and it changes everything.
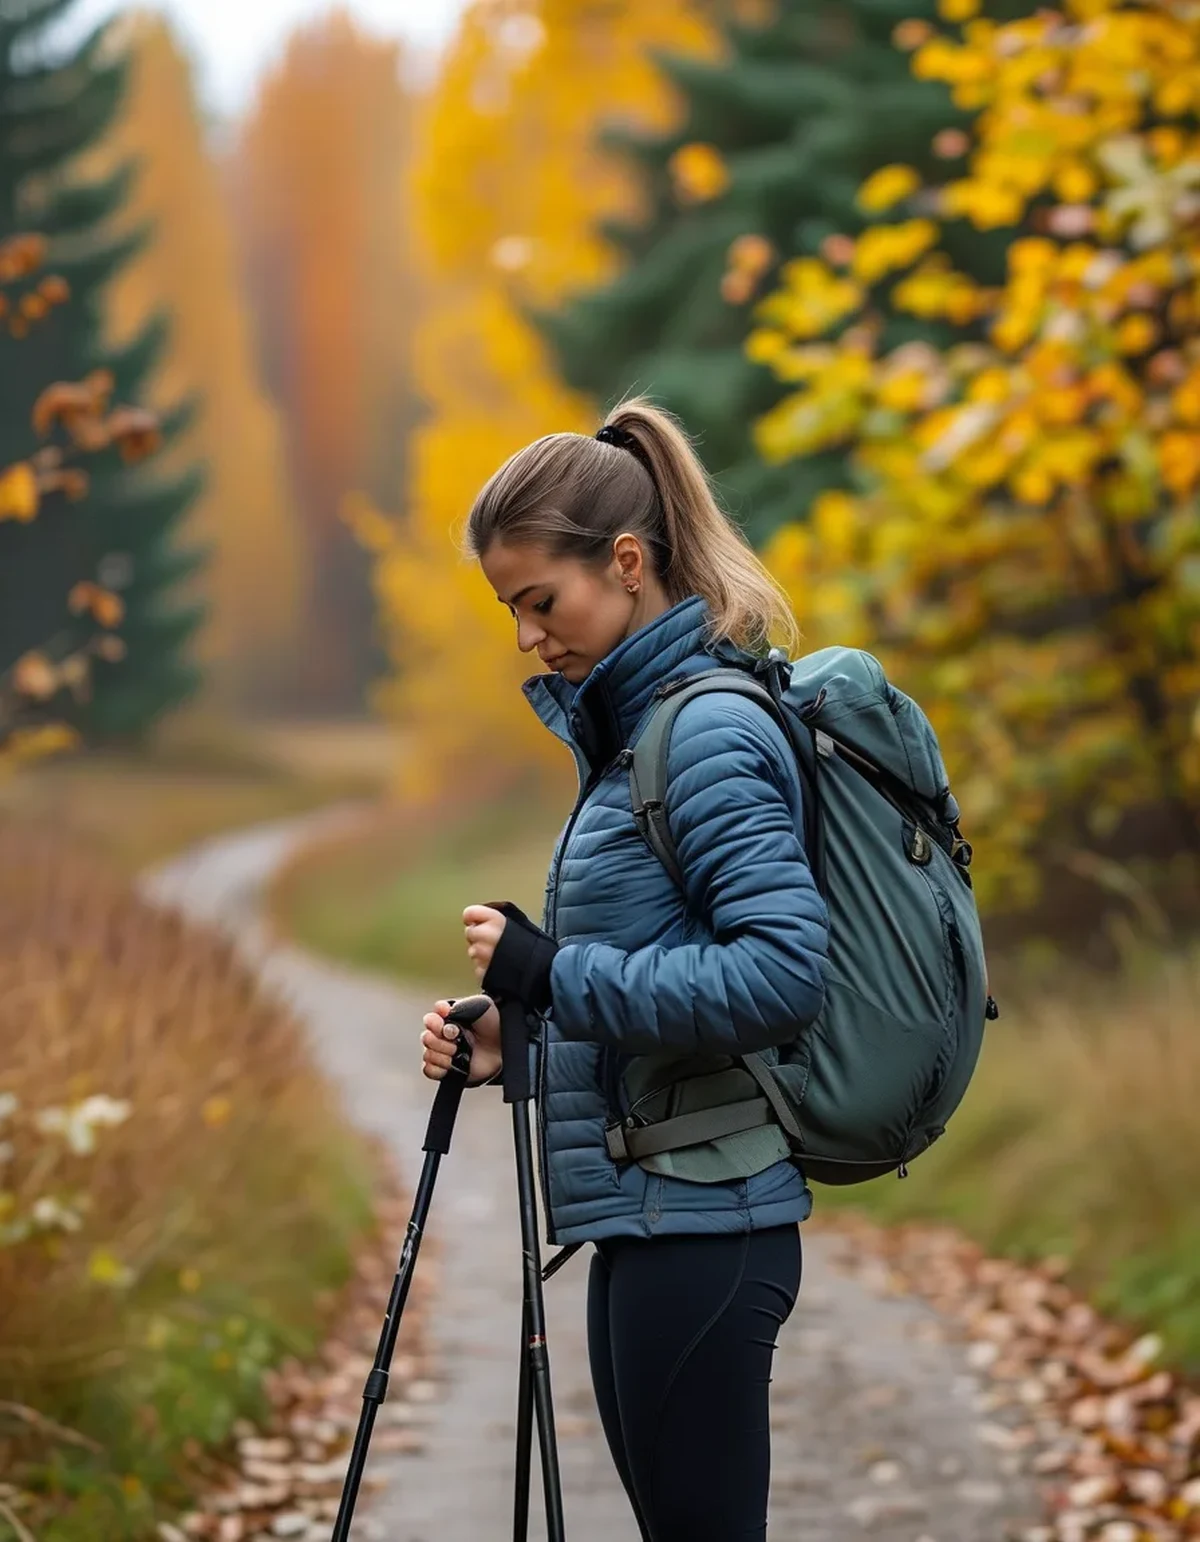
Nordic walking poles are not walking sticks. You do not push down on the handle - you push backward against the strap, and the strap transfers that force from the base of your hand to the pole.
In correct technique the sequence is: plant the pole at an angle behind you, push back through the strap while the hand progressively opens, and finish with the hand almost fully open behind your hip. Then the hand relaxes forward and closes lightly for the next plant.
Which means the hand should be gripping for a small fraction of each cycle, not continuously.
When people grip throughout, the load path changes. Instead of a broad push against the strap across the back of the hand, you get shear across the thumb web as the strap slides against skin under tension. Shear plus moisture is the textbook blister recipe.
So the blister location is diagnostic: thumb web means grip, not strap.
How should the strap be adjusted?
Specific and quick to check.
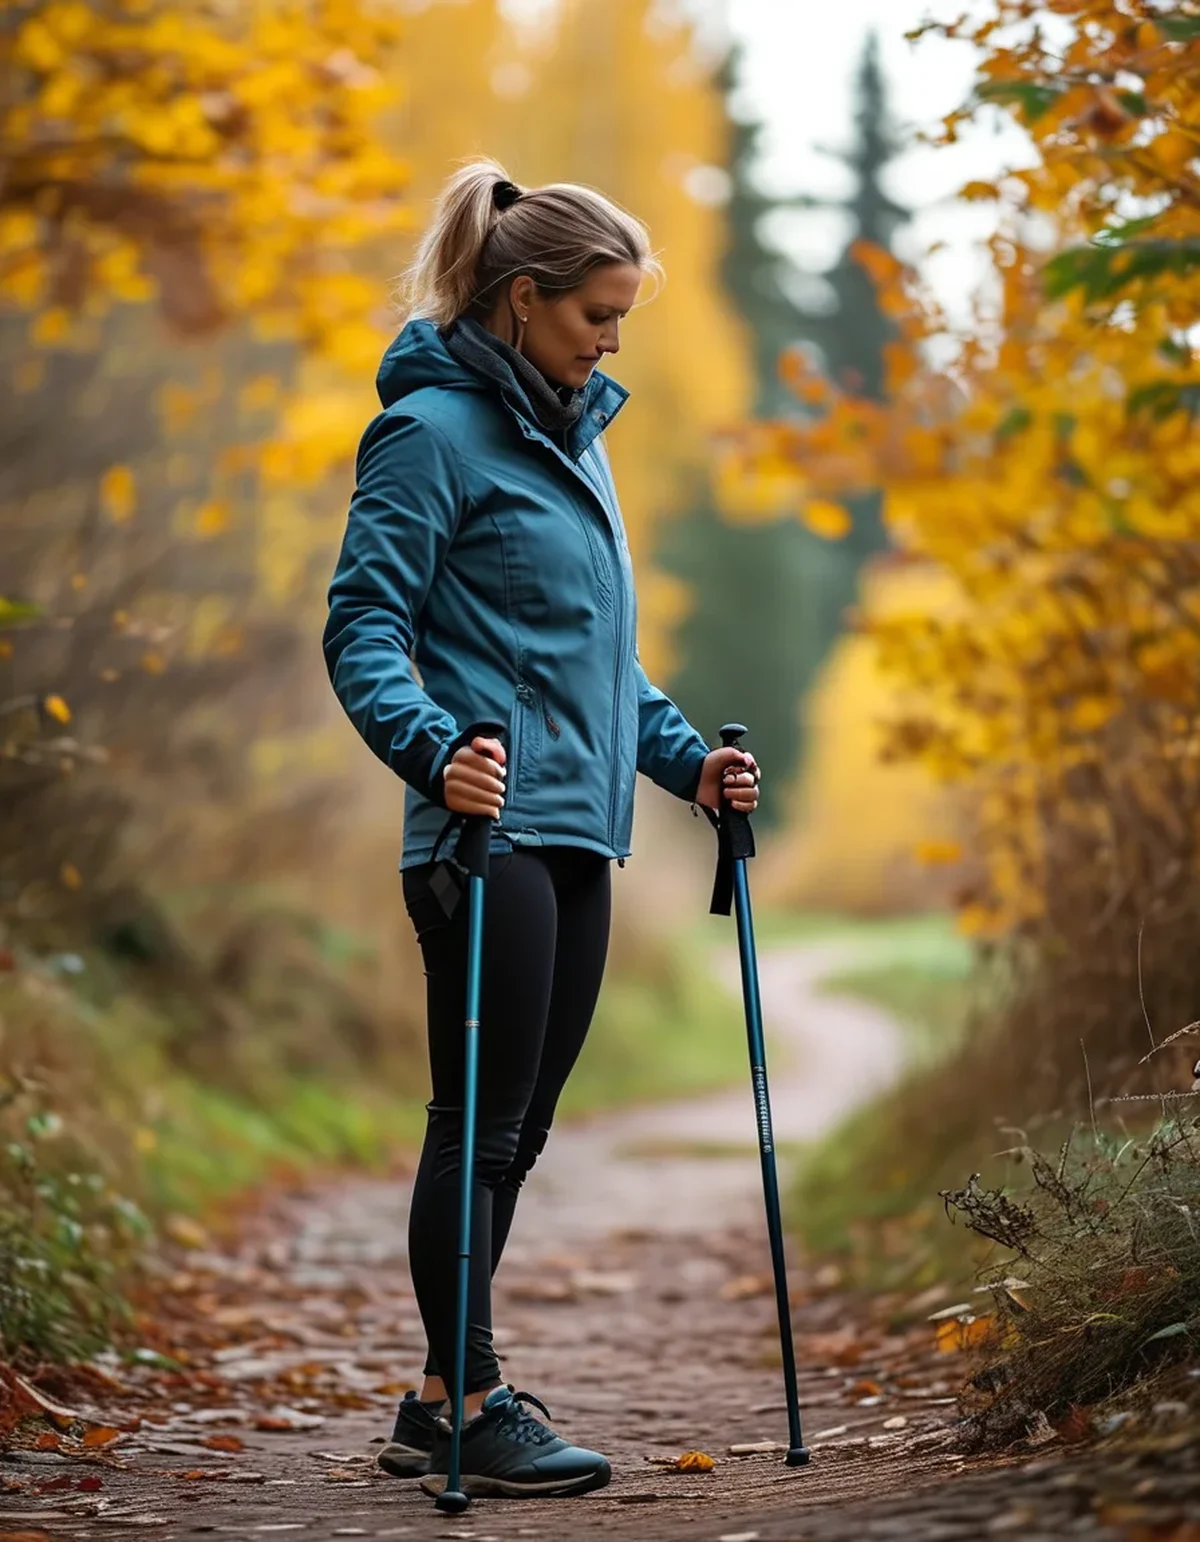
1. Correct hand entry. Bring your hand up through the loop from below, then down over the strap to grip the handle. Most straps are shaped and handed - check for L and R markings. Wearing them on the wrong hands twists the strap and puts pressure exactly where the blisters form.
2. Snug, not loose. With your hand relaxed and open, the strap should hold your hand in position against the handle without your fingers doing anything. If your hand drops away from the handle when you open it, the strap is too loose and it will slide.
3. No twist. Check the full length of the strap where it enters the handle. A half twist is very easy to miss and it concentrates all the pressure on one edge.
4. Check after 10 minutes of walking. Straps loosen as they settle and as you warm up. The second adjustment is the one that matters - the first is a guess.
5. Re-check both sides. Straps often loosen unevenly, and the dominant hand usually pulls harder.
5 mistakes that cause hand blisters
1. Gripping continuously. The main cause. If your hand is closed for the whole cycle, you are walking with sticks, not Nordic walking. Practice: walk 100 steps with your hands deliberately open behind you at the end of each push. It feels alarming and it is correct.
2. Straps too loose. A loose strap moves against the skin every single step. Thousands of small movements produce shear, which is what a blister actually is.
3. Wrong hand, or twisted. Ten seconds to check, and a common cause of one-sided blisters.
4. Sweaty hands with no glove. Moisture dramatically lowers the friction threshold at which skin blisters. A thin glove is the simplest fix and it is worth carrying even when you do not expect to need one.
5. Poles too long. A pole that is too long forces you to grip harder and push at a poor angle. The rough guide is around 0.68 x your height, with the elbow at roughly 90 degrees when the pole tip is at your foot. Too long is far more common than too short, since many people buy based on a chart without checking the elbow angle.
How do I treat a blister that has already formed?
Standard blister care, plus a couple of hand-specific points.
If it is intact: generally leave it alone. The overlying skin is a natural sterile barrier. Cover with a hydrocolloid dressing or a padded blister plaster, which cushions and protects.
If it has torn open: clean gently with soap and water, apply a thin layer of antibiotic ointment if you have it, and cover with a sterile dressing. Change the dressing daily and keep an eye on it.
For walking with one: a hydrocolloid patch plus a glove is usually enough to keep going. Tape alone tends to move and make things worse.
Prevention for the next few walks: a thin glove, tape over the web before you start, and a genuine technique check.
See a healthcare professional if you notice increasing redness spreading from the site, warmth, pus, red streaking, fever, or if you have diabetes or any condition affecting circulation or healing - foot and hand wounds warrant prompt attention in those cases. This is general information, not medical advice.
Does the season change anything?
More than you would expect for a hand problem.
Autumn brings the worst conditions for grip technique. Wet leaves and damp ground mean tips slip more, and the instinctive response to a slipping tip is to grip harder - which is precisely the thing causing the blister. If your poles have started slipping, switch to the rubber paw tips for pavement and check that your metal tips are not worn round.
Cooler weather means gloves come back, which mostly helps. But a bulky glove changes the strap fit - readjust the strap when you change glove thickness, or the strap that was snug becomes loose.
Sweat is still a factor in early autumn. Cool air and a warm effort still produce damp hands inside a glove.
Longer autumn walks compound everything. A technique flaw that is invisible over 30 minutes shows up clearly at 90.
One useful autumn habit: check your pole basket and tip wear at the start of the season. A worn tip that skates is a technique problem waiting to happen, and it costs nothing to look.
FAQ: Nordic Walking Hand Questions, Answered
Do I need Nordic-specific gloves?
Not necessarily - any thin, well-fitting glove without a seam across the thumb web works. Nordic-specific ones often have padding exactly there, which is convenient, and a fingerless cycling glove works nearly as well.
Should the strap be tight enough to leave a mark?
No. Snug enough to support an open hand against the handle, loose enough that you can slide a finger under it. A mark means it is restricting circulation.
If my technique is right, will the blister stop?
Usually within a walk or two, once the grip pressure comes off. If it persists with correct technique and a properly fitted strap, check pole length - that is the remaining variable.
TL;DR:
- A thumb-web blister means you are gripping instead of pushing through the strap.
- Hand up through the loop from below, check for L/R markings, and make sure there is no twist.
- Snug strap: it should hold your open hand against the handle without your fingers helping.
- Practice opening the hand fully at the end of each push - that is the actual technique.
- Check pole length (~0.68 x height) and swap to rubber tips for wet autumn pavement.
The blister is a technique readout, not just bad luck. Fix the strap and the grip, and you get both a healed hand and considerably more upper-body work out of every walk.
See It in Motion
Seen here: Super High Waist Embossed Yoga Leggings with Inner Pocket — shop it on bubblelime.com
Keep Reading
This article is for general informational and styling purposes only. Fit, sizing, and product availability may vary.