How Hard Should You Actually Push the Poles? The Force Question Nobody Answers
Quick Answer: The pole should take meaningful load — enough that you feel your triceps and lats working, and enough that if the pole were removed mid-stride you would notice a loss of propulsion. Research on nordic walking finds roughly 18 to 22% higher energy expenditure than regular walking at the same speed, but only with genuine pole pressure. Carrying poles produces almost none of that benefit.
You have the poles, the straps, and the technique video. Your heart rate looks the same as it did without them.
The question nobody answers directly: how hard are you supposed to push?

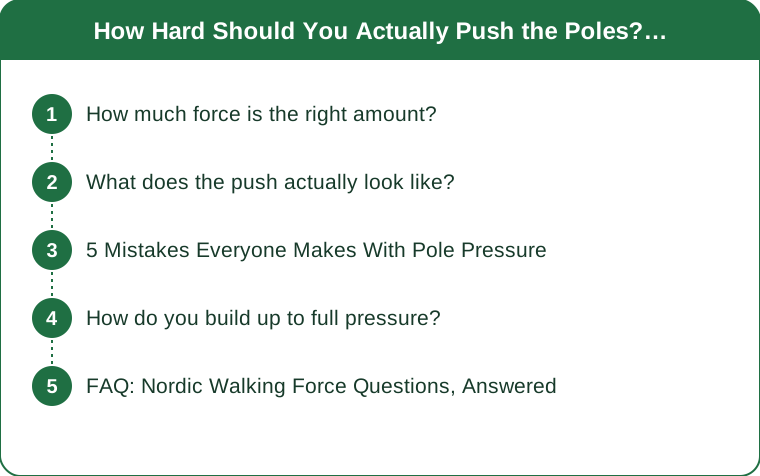
How much force is the right amount?
Enough that the upper body is genuinely working, which is more than most people apply.
The test: could you remove the pole mid-stride without noticing? If yes, you are carrying it. Real nordic walking has the pole contributing propulsion — take it away and you lose forward drive.
You should feel triceps and lats. The push happens as the arm passes the body and extends behind, driven by the lat and finished by the triceps. If you feel nothing in the back of your arms after 20 minutes, the poles are decorative.
Studies show 18 to 22% higher energy cost than walking at the same speed, with roughly 5 to 15 beats per minute higher heart rate. If your numbers do not move at all with poles, technique is the reason.
But not maximal force. You are sustaining this for 30 to 60 minutes. Think of steady firm pressure rather than a push-up on every stride.
A practical calibration: on a flat path, the pole should leave a visible mark on soft ground. If it barely disturbs the surface, you are not loading it.
What does the push actually look like?
Four elements, and the release at the end is the one everyone skips.
Plant the pole angled backward, behind your front foot. A pole planted vertically or in front of you is a brake, not a propulsion source. The angle is what makes the push possible.
Push down and back through a straight arm. The arm extends behind the body, hand ending past the hip. Most people stop the motion at the hip, which cuts the productive part of the stroke in half.
Open the hand at the end. As the arm extends behind you, release the grip and let the strap carry the pole. This is why nordic poles use a glove-like strap rather than a simple loop — the release is designed in, and it lets you extend fully without gripping.
Then relax the arm forward. The return is passive. Actively swinging the pole forward wastes energy and shortens the stroke.
And the torso should rotate slightly. A small counter-rotation between shoulders and hips is what connects the arm push to the walking gait — with a locked torso the arms and legs work as separate systems and the whole movement feels awkward.

5 Mistakes Everyone Makes With Pole Pressure
Mistake 1: Gripping the pole through the entire stroke. Holding tight the whole time fatigues the forearms fast and prevents the full extension behind the body. The strap exists so you can let go — using it properly is what makes an hour comfortable.
Mistake 2: Planting the pole too far forward. A pole ahead of your front foot generates a braking force, which is worse than useless. Plant it beside or slightly behind the leading foot at a clear backward angle.
Mistake 3: Bending the elbow through the push. The push is generated with a nearly straight arm from the shoulder. A bent elbow turns it into a small triceps extension with a fraction of the force and none of the lat involvement.
Mistake 4: Matching pole rhythm to a shortened stride. Many people shorten their stride when they add poles, which reduces both the walking and the pole contribution. Stride length should stay the same or lengthen slightly.
Mistake 5: Assuming more pressure is always better. Very high force per stride raises wrist and shoulder loading and is hard to sustain, which turns a 60-minute walk into 20 minutes and a sore shoulder. Steady moderate pressure across the whole walk beats intense pressure for the first ten minutes — and this is the mistake that most often follows reading an article like this one.
How do you build up to full pressure?
Progressively. The upper body is not conditioned for an hour of pushing.
Week 1: 10 minutes of active pushing inside a 40-minute walk. The rest with poles carried normally. This is enough to produce soreness in untrained lats and triceps.
Week 2 to 3: alternate 5 minutes on, 5 minutes off through the whole walk.
Week 4 onward: full duration with active pushing, backing off when technique degrades rather than when you get tired.
Expect delayed soreness in the lats and triceps after the first few genuine sessions. That soreness is confirmation you were previously carrying the poles rather than using them.
Autumn note: as leaves cover paths through October, pole grip on the surface becomes less reliable, and a pole that slips mid-push is both ineffective and a fall risk. Rubber tips work on pavement; remove them for soft ground so the metal tip can bite. On wet leaves, reduce pressure deliberately and take the intensity from pace instead.
This is general information, not medical advice. If you have shoulder, wrist, or elbow problems, have the technique checked by an instructor before adding significant pole force.
FAQ: Nordic Walking Force Questions, Answered
How do I know if I am getting the extra calorie burn?
Compare heart rate on the same route at the same pace with and without poles. Correct technique typically produces 5 to 15 beats per minute higher at identical speed. If there is no difference, you are carrying the poles — and that is the most common outcome for self-taught nordic walkers.
Should the poles make me walk faster?
Usually a little, yes — the propulsion adds to your gait. But the primary benefit is a higher energy cost at the same speed, not more speed. If you are walking noticeably faster and your heart rate is unchanged, the poles may be helping mechanically rather than adding upper body work.
Do my arms need to be strong to start?
No, and the movement builds the relevant endurance quickly. What matters is progression — starting with an hour of full pressure will produce shoulder and forearm soreness that puts you off for a week. Ten minutes of genuine pushing in your first sessions is enough to begin adapting.
TL;DR:
- The pole should carry real load: if you could remove it mid-stride without noticing, you are carrying rather than pushing.
- Plant angled backward, push through a straight arm past the hip, and open your hand at the end of the stroke.
- Correct technique produces roughly 18 to 22% higher energy cost and 5 to 15 bpm higher heart rate at the same pace.
- Build up over four weeks — untrained lats and triceps will be sore after the first real session. Try the removal test on your next walk. It takes one stride to answer and it tells you immediately whether you are getting the benefit you bought the poles for.
See It in Motion
Seen here: High Waist Jogger Sweatpants with Pockets — shop it on bubblelime.com
Keep Reading
This article is for general informational and styling purposes only. Fit, sizing, and product availability may vary.